
If you've never recorded your voice before, it can be an easy mistake to think that all you need to do is to hit record and start speaking into a microphone. After all, the in-built microphones on so many computers and phones these days are high-level, and when you make voice calls, they seem to offer perfect quality. Of course, recording your voice isn't this simple, especially if you want to record your voice for a podcast, a voice-over, or for another project.
If you've tried recording your voice and discovered that the quality was lacking, then you've come to the right place. We're going to look at the equipment that you'll need to get high-quality voice recordings. Also, we'll offer you seven important tips that will transform your poor-quality voice recordings into professional-level recordings.
Let's get started.
Before You Begin: Get the Right Equipment
 If you're serious about recording your voice, then you need to invest in the right equipment. Fortunately, in the modern world, it's possible to purchase superb equipment that will allow you to record crystal-clear vocals without breaking the bank.
The most important pieces of equipment you'll need for recording the spoken voice are the following:
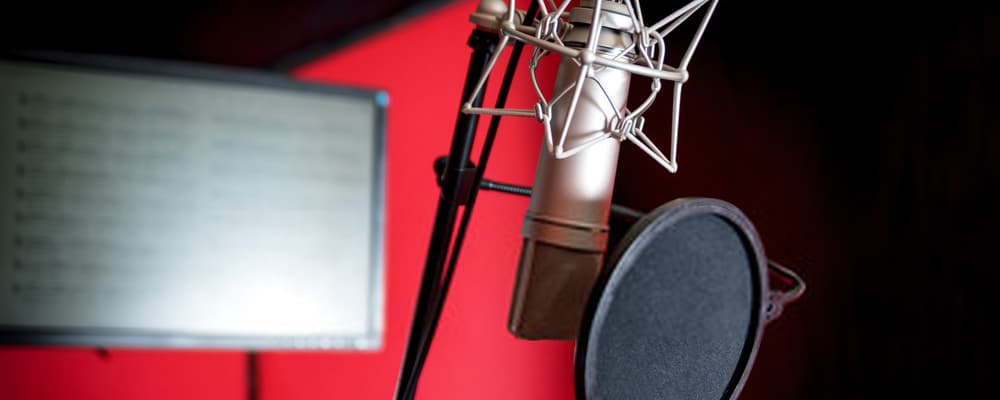
- Microphone: The most important piece of equipment for recording your voice will be the microphone. We recommend that you invest in a condenser microphone. The more you spend, the better the quality you'll get, but you can easily get a decent condenser mic for less than $50. If you're planning on recording a podcast long-term, then consider a Blue Yeti microphone, as these are a favorite of home podcasters all around the world. They capture excellent audio quality, and they can be bought for around $120.
- Pop Filter: There's no point having a quality mic if you don't put a pop filter in front of it. A pop filter is an inexpensive kit that will cut out all those horrible pops and hisses that can ruin an audio recording and annoy a listener.
- Mic Stand or Arm: It's also important that you position your mic in a stable place. A small microphone stand or a microphone arm will do this. A mic arm is useful, as it gives you more freedom to move around. If you like the idea of reclining in your seat rather than needing to lean forwards while recording, then you should go for a microphone arm.
This is all you need to record good quality audio, as well as something to record it onto, such as a phone or computer. You can also purchase an external recording device, but there's no need for that if you've got a computer.
You may also want to invest in a mixer or a preamp too. But you'll only need this if you start recording podcasts or voice-overs professionally. For most people, you'll be fine with a quality microphone, a pop filter, and a mic stand or mic arm. By purchasing these three products, you'll instantly hear your voice change from sounding amateurish to professional.
There are some other things that you can do to enhance your voice quality on top of purchasing these items. Let's have a look at them.
Tips for a Better Voice Recording
Follow each of these tips, and you'll notice a huge improvement in the quality of your vocal recordings. They're all easy to do, and they won't cost you much, if any, money at all.
Tip #1 – Eliminate Background Noise
 Background noise is Enemy #1 when it comes to audio recordings. It's such an easy thing to eliminate, but amateur podcasters often forget to do these simple things to ensure background noise is kept to a minimum.
Many people don't realize that a lot of electrical products cause a humming sound that your microphone might pick up. So, if you're recording on your computer, then leave it on. Try to sit as far away from it as possible while recording. Also, turn off televisions, gaming consoles, or anything else that might cause a background sound.
Of course, you should also ensure that you're not recording somewhere that's going to have other people talking nearby. If you've got a pet, then you don't want it to enter your room while you're recording, as its collar, for example, could be picked up.
You should also turn your phone onto Airplane Mode. This isn't just because you don't want your ringtone to interrupt the recording. When the phone is in action, then it can produce signals that will then show up on your audio recordings, and you won't notice this until you hear the recording back.
If you tap your foot while you speak or chew on a pen (or anything that makes a noise), these sounds will show up on your recording. Even scratching yourself can be audible on a recording. Stay conscious of these things. Otherwise, they'll distract the listener from your voice.
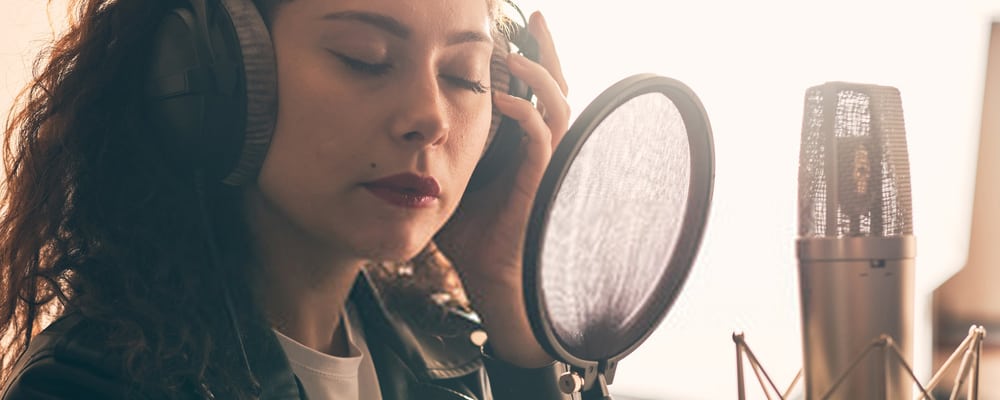
Tip #2 – Learn the Right Technique for Speaking into a Microphone
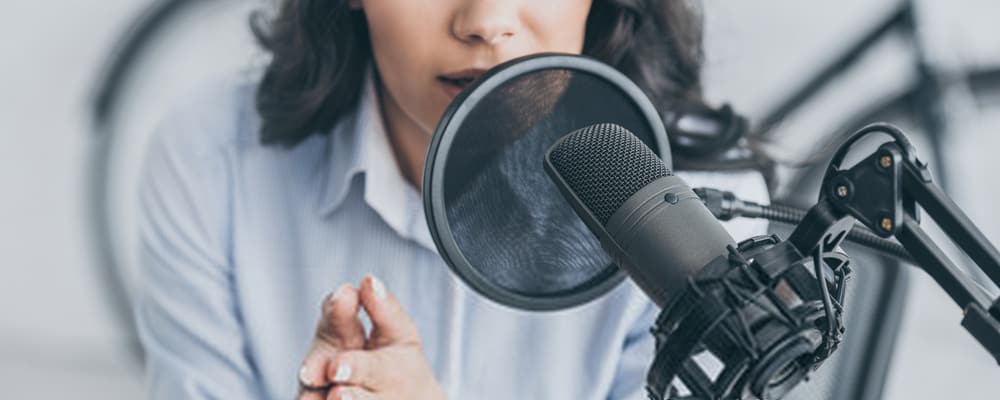 It seems so simple. You just hold the microphone close to your mouth and talk, right? Unfortunately, it isn't like that at all. There is a correct method for speaking into a microphone, and you must learn it.
The key is to find the optimum distance between where you place your mouth and the microphone. You don't want to be too close, as this can lead to your voice being distorted. If you're too far away, then your mic will end up recording too many background sounds. Experimenting is the best way to find the right distance. Keep in mind that if you raise your voice or whisper, you need to adjust the microphone to counteract this. It comes with experience. Once you've been recording your voice for a long time, you'll find that you'll do it naturally.
Tip #3 – Get the Acoustics Right
 We've touched on eliminating external noise and having the right equipment. Still, it's also important to record audio in an acoustically sound environment if you want your voice to sound professional.
Hard surfaces are a nightmare for voice recordings, as is anything that could cause your voice to echo or reverberate. The key is to record in a carpeted room without hard surfaces or empty walls. You may want to invest in sound dampeners that can help improve the acoustics inside your recording studio or room.
You'll notice that your voice is instantly smoother and warmer once you've improved the acoustics. And you don't need to spend money to do this. You can use blankets, cushions, or anything absorbent.
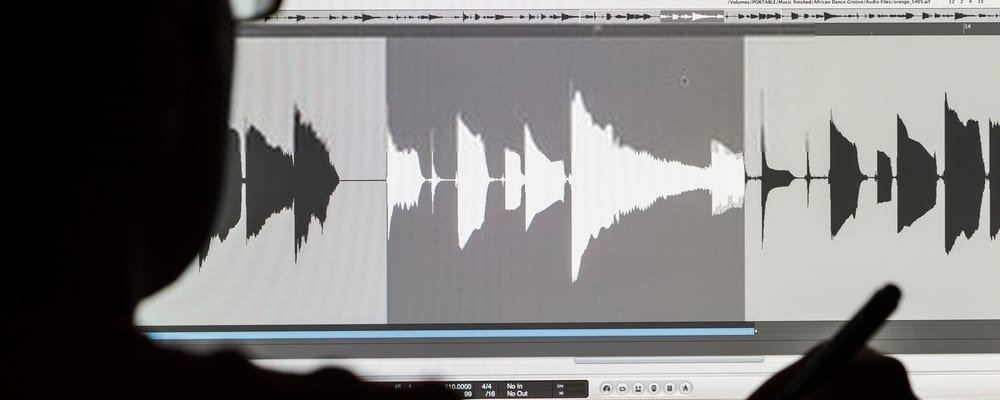
Tip #4 – Use a Digital Audio Workstation
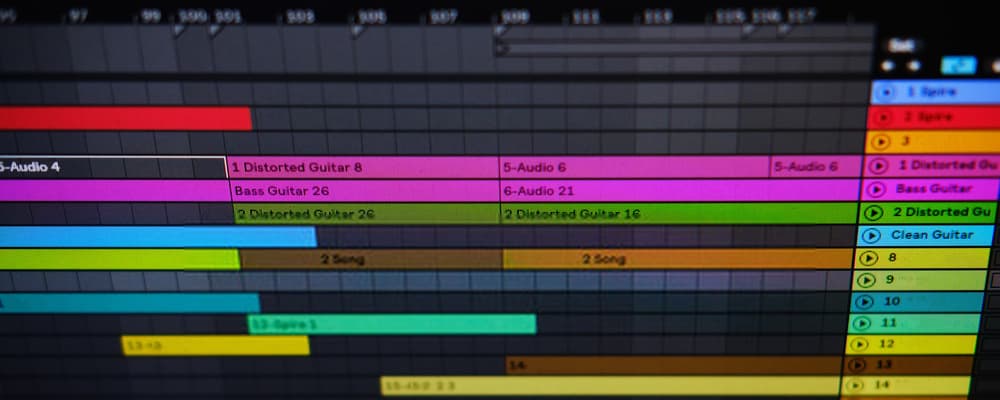 Now that you're in the perfect recording environment, you need to have the right software to record your voice. A digital audio workstation is a good option. Although, if you only want to record your voice and you want to save some money, then you should choose a DAW like Audacity as this won't cost you a penny. The good thing about DAWs is that it's possible to try many of them for free. Take advantage of these free trials; experiment with them, and see what one is the best for your needs.
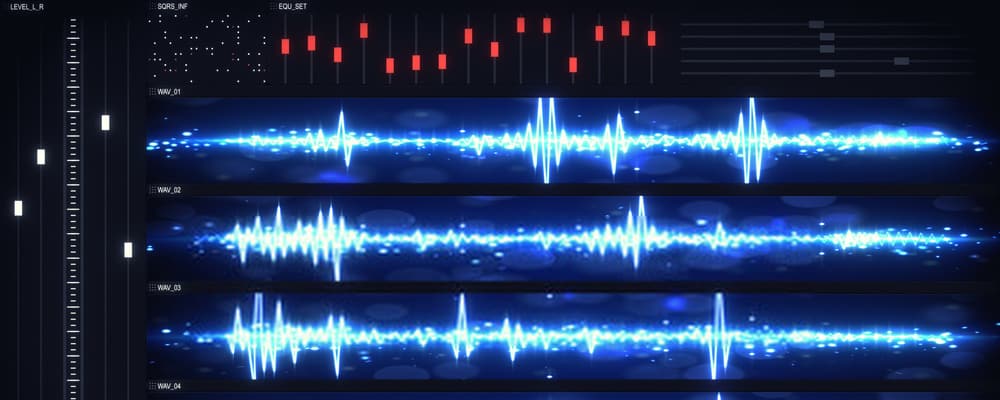
Tip #5 – And Learn How to Utilize the DAW for a Better Voice
 Once you've got your DAW, then it's important to make use of it. For example, some DAWs will offer excellent features such as an automatic 'de-noiser,' which will remove all external noise from the recording. You will likely need to remain silent at the beginning of a recording while the DAW adjusts. Each DAW is different, though, so make sure to check the right method for your one before you try it.
The most important feature of a DAW for voice recordings is the compressor. You must use this to your advantage. The compressor is important because it will keep your voice at a relatively steady level. Without it, your voice will simply sound terrible. So, you should ensure that you make the most of the compressor on your DAW.
You may also want to use the 'de-esser,' which will stop all S sounds hissing. A high-pass filter will be ideal for people with deep voices too. There are many other great features that DAWs offer too. Experimenting and learning is the best way to use your DAW to your advantage.
Tip #6 – Remember to Use Sound Cues for Editing
 You're likely going to want to edit your voice after you've recorded it. Whether it's a voice-over, a podcast, an audiobook, or whatever it may be, editing will simply be part of your process. And the best way to make editing a breeze is to use sound cues. A simple beep is a good cue. It will make it a lot easier to find the parts you want to cut, edit, or where you may want to add adverts.
When you're editing, you may want to consider using a crossfader, instead of simply cutting up segments and putting them beside each other. If there is something in between a song, an advert, or an excerpt from another audio recording, it may not be as jarring.
But if you've cut up a long recording and then want to put it together again, using the crossfader on your DAW will make the transitions between the recordings a lot smoother. This will give a more professional impression of your voice.
Tip #7 – Practice and Relax
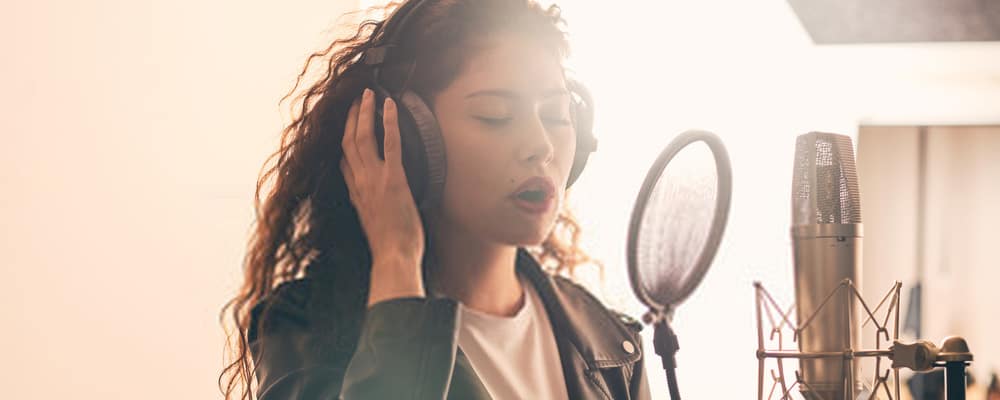
 Now that you've got all the technical aspects down, the last thing that you need to do when recording your voice is to relax. One reason your voice might sound odd when you listen to it back is that you're on edge during the recording. You might be conscious of how you will sound. Perhaps there's a tremor in your voice, or you're mumbling because you're uncomfortable speaking into the microphone.
Practicing is the best way to sound natural on a microphone. The more you do it, the more comfortable you'll be. All those 'erms' and 'ums' will quickly disappear when you start to learn how to talk with the same freedom as you do with friends. In fact, you'll likely speak more smoothly than you even do with friends. Listen back to the early shows of some of the most famous podcasters around, and you'll hear how awkward they sounded at the beginning too.
Summary
To improve the quality of your voice in an audio recording, you just need to make sure that you have the correct equipment. This means a condenser mic, a pop filter, and a microphone arm or stand. Record in an environment that's got good acoustics and no background noise.
You need a good DAW for recording, and you should utilize its features – such as the compressor – to your advantage. Then, you simply need to practice speaking into the microphone. Before long, your voice will sound professional and completely different from how amateurish it was when you first started recording.