
Learning how to clean your headphones is essential, especially when you use them daily. It's healthier for your ears to wear headphones that are cleaned regularly. Microbes are known for building up on your earbuds, which can cause a lot of easily avoidable problems.
In these unprecedented times, cleaning has become a critical element of our daily lives. While you may not have considered cleaning your headphones before now, it's certainly something that should be on your mind. Taking care of your headphones and ensuring they are clean will not be a lot of work, and it will help keep you safer and healthier.
What is the Importance of Cleaning Your Headphones?
 It's unlikely that wearing dirty headphones is going to cause you to get an ear infection. However, it's possible that you can transfer infection from one person to another if you do not clean your headphones. When sharing headphones with someone who has an ear infection, you are exponentially increasing your chances of getting it. The same goes in the opposite direction if you have an ear infection and allow a friend or family member to use your earbuds.
When we wear headphones for a long time, the humidity inside the ear will increase. This makes it a perfect environment for bacteria to grow. Disinfecting your headphones will help ensure that you do not have to worry about bacteria building upon their surface. You should also plan on sanitizing your headphones if you drop them on the floor, or if they touch a surface that has not been cleaned recently. This will ensure that any bacteria that sticks to them does not end up on the inside of your ears.
Items Needed for Headphone Cleaning
 Each type of headphone that you own may have a slightly different process when it comes to cleaning. However, there are some necessary items that you should go and get, so you're ready to go regardless of the type of headphones you're cleaning. Some of the things we're going to provide you with may not be required, but having them on hand is not going to hurt.
What you need for the cleaning process:
- Toothbrush
- Paper Towels
- Hand Towel
- Tweezers
- Rubbing Alcohol
- Q-Tips
- Gloves
- Hand Soap
Each one of these tools will make cleaning your headphones or earbuds more straightforward. You should clean your tools before using them, so you're not transferring bacteria to your headphones while trying to clean them. Most people prefer to use rubbing alcohol while working through the cleaning process; however, you could also use diluted bleach or hydrogen peroxide.
While not included in our list of items that you will need for cleaning, some people also like to wear a pair of goggles or glasses. When you use chemicals to clean a surface, you could get it in your eye. If you're concerned about the process, sporting a pair of goggles can ensure optimal safety levels.
Cleaning Process for Different Headphone Types
When you need to clean your over-ear, on-ear, earbuds, or wireless headphones, the process will vary slightly. Let us take a look at each type of headphone and how exactly you should go about cleaning it.
On-Ear and Over-Ear Headphones
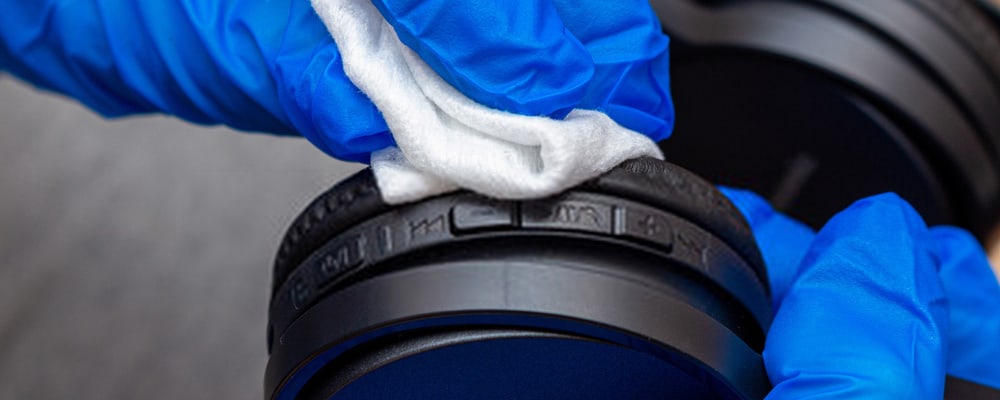 To start cleaning your on-ear or over-ear headphones, you will want to remove the ear pads. From there you should extend the headband as far out as possible. This way, you can reach all of the spaces. You'll want to focus on the inside, as well as the outside.
After you have removed the earpads and stretched the headband out, you will want to use the toothbrush to remove any dirt or debris. Be gentle in the brushing process, and when you get to the drivers, use extra caution so that you do not push dirt and debris into an area. It should not be located. If you find hair stuck in your headphones, gently use the tweezers to remove it.
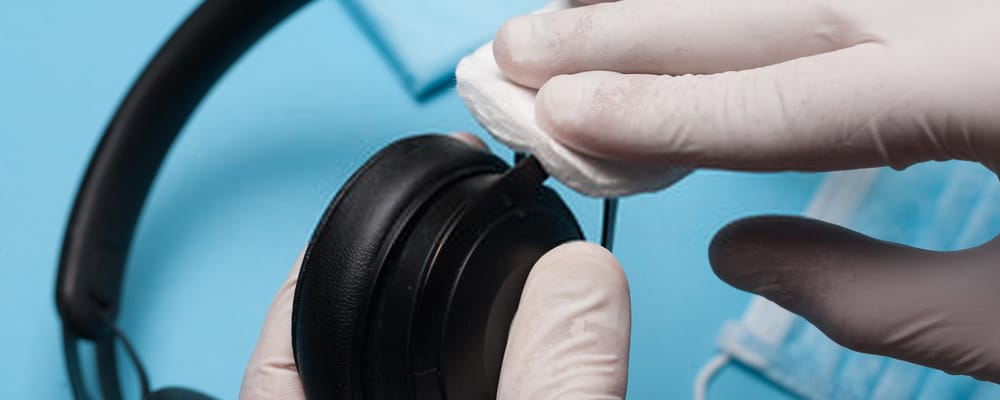
After you have handled all of the larger debris, you can move forward into the process of disinfecting your headphones. Add a bit of your cleaning solution to your towel or paper towel. You don't want to use too much, especially if you're using rubbing alcohol. It could damage to leather and plastic on your headphones. Run the towel over every surface of your headphones, except the earcups, so that they are disinfected.
Once you have wiped down the bulk of your headphones, you will want to wipe down the padding from the earpieces. You do not need to use an excessive amount of pressure. Be careful to avoid getting liquid into any of your headphone's components.
Now that the bulk of your headphones are clean, you'll want to move on to the drivers. Facing the drivers towards the floor will ensure that liquid does not seep into your headphones' electronic inner workings. You need to make sure that the cloth you're using is not dripping wet. Many people prefer to use a Q-tip to clean this area. Simply brush your Q-tip or cloth over the drivers and then pat them down with a dry paper towel.
Earbuds
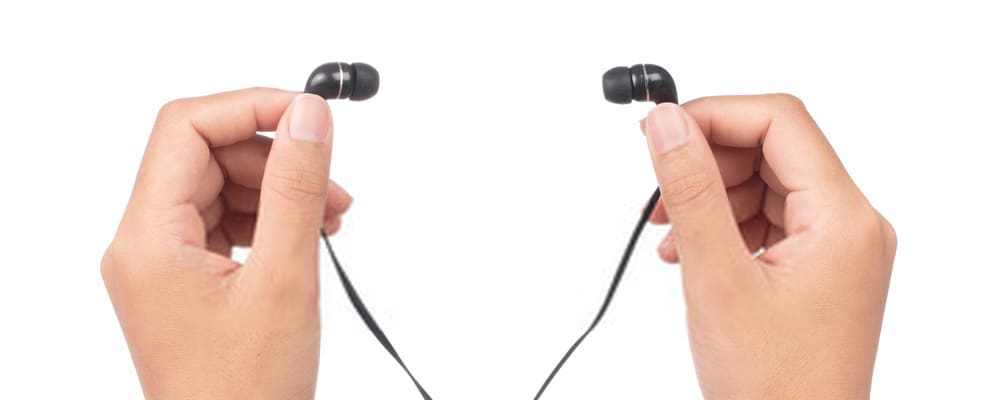 Cleaning your earbuds will be a little bit different. They are quite a bit smaller and will require a steadier hand for the cleaning process. The very first step is the same. You will need to remove the ear tips. Keep in mind that the ear tips are tiny and should be placed in a location where they will not fall on the floor and get lost.
Many people will clean the ear tips as they take them off. To do this, you will want to use a Q-tip with just a small amount of rubbing alcohol. This will easily remove any buildup or ear wax that is stuck to the casing. After cleaning them thoroughly and removing any earwax or debris from the ear tips, set them to the side.
Some earbuds will come with a cleaning tool that is made to remove any excess earwax from them without pushing it into the electronic components inside. If your earbuds did not come with a cleaning tool, Q-tips would work just fine.
You will want to gently brush or dab at the nozzle to remove any stuck-on earwax. You need to have a gentle hand here as pushing too hard could cause damage or further debris to get caught.
Some earbuds will use foam ear tips. These deteriorate rather quickly and will often simply need to be replaced rather than cleaned. Silicone ear tips have become more popular and are extremely easy to keep clean using a Q-tip and rubbing alcohol. Investing in a pair of earbuds with silicone ear tips is probably the best route to go.
Wireless Earbuds
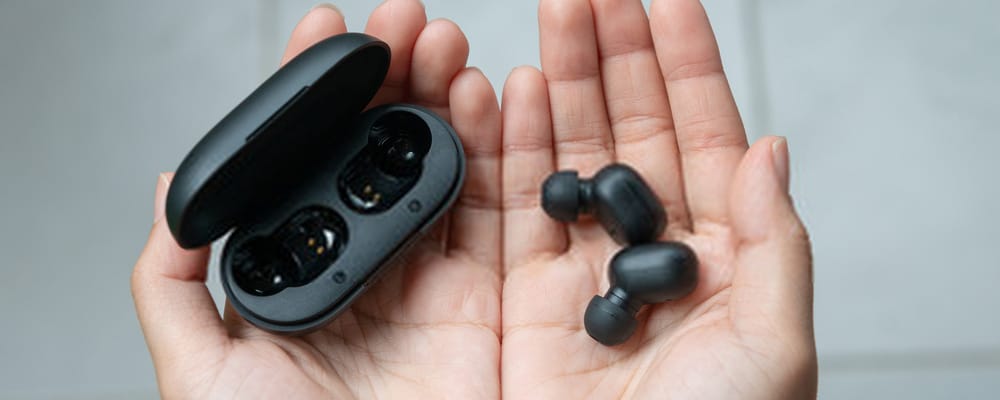 The process of cleaning and disinfecting your wireless earbuds are very similar to corded earbuds. There is a slight difference, though, because you will need to clean the charging case that comes with them. After handling the earbuds, themselves you can set them aside and take care of the charging case. The process for cleaning the case will be the same. You will want to use Q tips with only a limited amount of rubbing alcohol on them.
After cleaning the charging case, you should dry it thoroughly. Additionally, give it some time to completely air dry before you put your earbuds back inside it to charge. If there is any residual moisture, it could cause damage to your wireless earbuds.
Apple AirPods
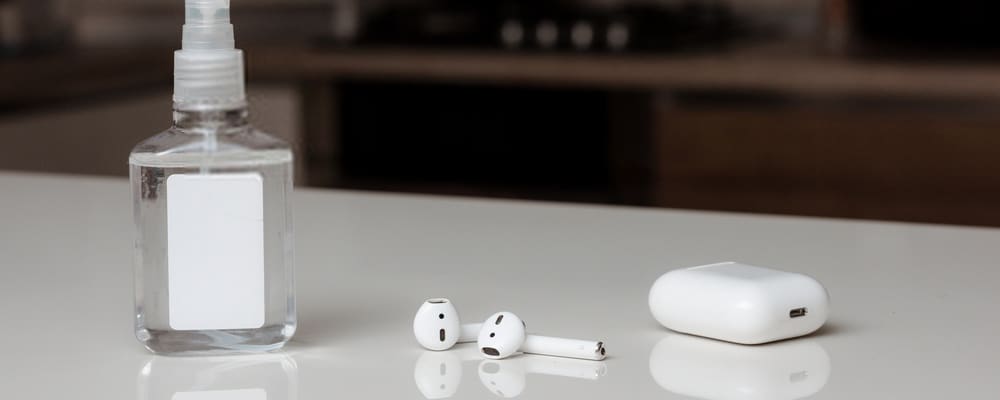 Many consumers get very nervous when they go to clean their Apple AirPods because they are costly. Cleaning these is no different than cleaning an earbud. You want to take your time and use a limited amount of liquid so that you don't damage any of the electronics. If you are unsure of the process, you can re-read the cleaning steps for earbuds or read one of the many articles specifically written to take care of your Apple AirPods.
It's common for people to get a bit jumpy when they are putting a liquid near their expensive electronics. However, if you take your time and follow the process, you will not have any trouble at all, ensuring that your headphones, earbuds, or air pods are clean every time you wear them.
After you're done with the cleaning and sanitizing process, you'll want to wash your hands with soap and water. This will ensure that you do not have any chemical residue on your skin. Even after you dry your headphones and their charging case, you should allow them plenty of time to finish air-drying. It doesn't usually take very long, but allowing them to dry completely is best for the electric components housed inside of them.
Conclusion
Taking care of your headphones by ensuring that they are clean and disinfected is imperative. Your headphones will last longer and be more comfortable. Additionally, you won't have to worry about spreading ear infections or excess bacteria building up on your headphones and inside of your ear.
It doesn't take a long time to clean your headphones, but it will take a gentle hand. The best practices for cleaning your headphones are relatively simple, and it can be done by pretty much anyone. By keeping your headphones clean, you will extend their life expectancy.
If you wear your headphones daily, it's good to clean them every other day. This will ensure that you're not facing bacterial buildup or excess earwax on your earbuds. Devoting a bit of time to keeping your headphones clean is good, regardless of how often you use them. Following the simple processes above will ensure your success in having truly clean and disinfected headphones whenever you need them.
If you liked the article, please leave your feedback.